Sample HTML Page Layout 2
Standard code for top of page (html,head,title)
Each piece of HTML must be opened and closed properly, even the whole page itself has a <html> and </html> that are needed
<html>
<head> - invisible section, contains meta and title information
<meta> - for search engines, left blank for now with no attributes
<title>Simple HTML Tutorial 2</title>
</head>
<body> - content start
Body set attributes bgcolor or background using <body bgcolor="FFFFFF"> or <body background="background.jpg"> , in other cases it is set by CSS.
align paragraphs using p align="(center, left, right)"
<b> or <strong> for bold, <i> or <em> for italic, <u> for underline
close each one with its respective </u></em></i></strong>, and <b>
Divs <div> are content holders that can hold tables or any other type of content. They can be positioned with CSS.
We are not going into CSS in this tutorial but we will explain a couple functions of Divs here. We will start with <h2> headers and <p> paragraphs.
Header without div attributes
Paragraph without div attributes.
The code for this header and paragraph:
<h2>Header without div attributes</h2> |
Now lets try adding styles to the <h2> and <p> tags without actually adding code to them and instead applying it directly to the container or <div>.
Header with style attributes inherited from div
Paragraph with style attributes inherited from div
The code for this div:
<div style="background:#CCCCCC;color:#F00;width:550px"> |
Instead of creating a <div> to apply attributes to a <h1> header or <p> paragraph we can apply them directly to the item itself which will affect the one instance.
Header with style attributes
Paragraph with style attributes
The code for this section:
<h1 style="background:#CCCCCC;color:#F00">Header with style attributes</h1> <p style="background:#CCCCCC;color:#F00">Paragraph with style attributes</h1> |
Divs can also have things like transparency and rollover effects, but these are usually applied with a CSS style sheet.
Tables: Open with <table>, <tr>, <td>. Close with </td>, </tr>, </table> in order. <table> is for a table, <tr> is a table row, <td> is a table data cell
<table> starts new table, applicable attributes are align="(center, left, right)", width="(width in px)", height="(height in px)", border="(border thickness in px)"
<tr> starts new table row
<td> starts new table cell, applicable attributes are align="(center, left, right)", width="(width in px)", height="(height in px)", border="(border thickness in px)", valign="(bottom, top, center)"
We will now create a <table> that can be placed inside of a <div> or stand alone by itself in the <body>.
The pictures in the table will utilize the lightbox feature which is an image presentation tool run by putting a couple lines of code in the <head> of the page. The following table is in the body just like all the content on this page, only scripts and stylesheets are put into the <head> of the page usually.
|
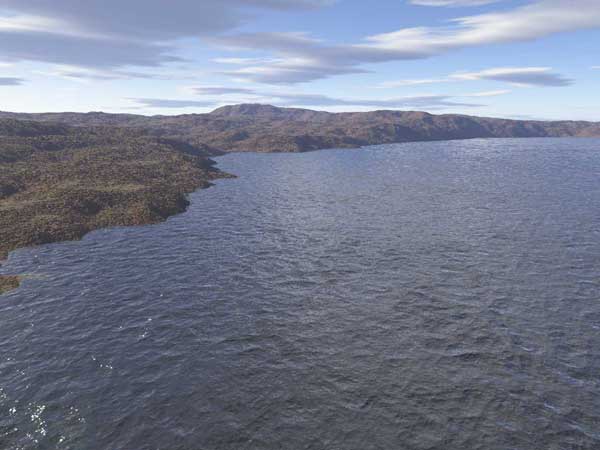
Terragen Landscape |
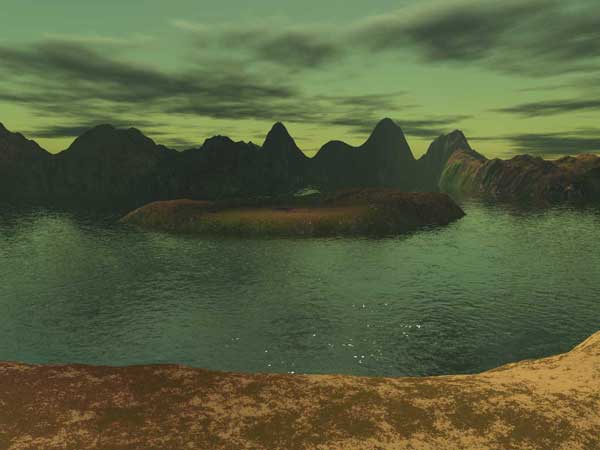
Terragen Lagoon |
|
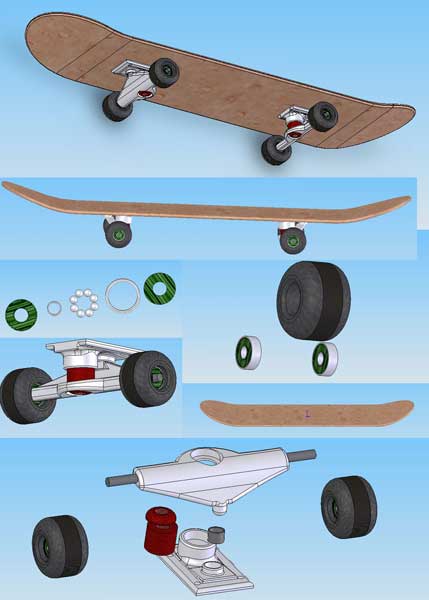
Skateboard |
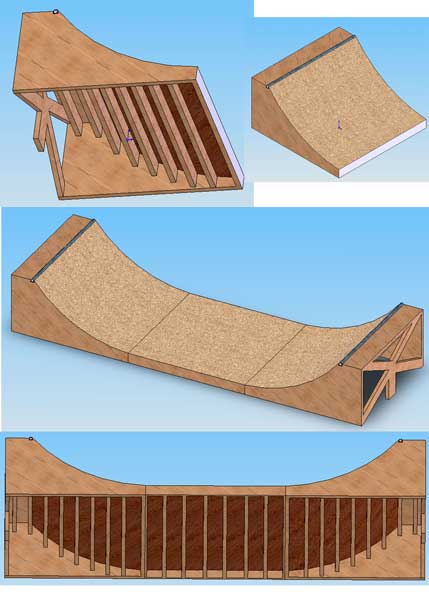
Halfpipe |
The code for this table:
<table align="center" width="500" border="0"> <tr> <a href="images/terragen_water_lg.jpg" rel="lightbox[tutorial]" title="Terragen Watery Landscape"><img src="images/terragen_water_sm.jpg" border="2" style="opacity:0.9;filter:alpha(opacity=90)" onmouseover="this.style.opacity=1;this.filters.alpha.opacity=100" onmouseout="this.style.opacity=0.9;this.filters.alpha.opacity=90" width="200px" /></a> </p> </td> <td align="center"> <p> <a href="images/terragen_lagoon_lg.jpg" rel="lightbox[tutorial]" title="Terragen Lagoon at Dusk"><img src="images/terragen_lagoon_sm.jpg" border="2" style="opacity:0.9;filter:alpha(opacity=90)" onmouseover="this.style.opacity=1;this.filters.alpha.opacity=100" onmouseout="this.style.opacity=0.9;this.filters.alpha.opacity=90" width="200px" /></a> </p> </td></tr>
<a href="images/skateboard_lg.jpg" rel="lightbox[tutorial]" title="Skateboard created in CAD"><img src="images/skateboard_sm.jpg" border="2" style="opacity:0.9;filter:alpha(opacity=90)" onmouseover="this.style.opacity=1;this.filters.alpha.opacity=100" onmouseout="this.style.opacity=0.9;this.filters.alpha.opacity=90" width="200px" /></a> </p> </td>
<a href="images/halfpipe_lg.jpg" rel="lightbox[tutorial]" title="Halfpipe created in CAD"><img src="images/halfpipe_sm.jpg" border="2" style="opacity:0.9;filter:alpha(opacity=90)" onmouseover="this.style.opacity=1;this.filters.alpha.opacity=100" onmouseout="this.style.opacity=0.9;this.filters.alpha.opacity=90" width="200px" /></a> </p> </td></tr> </table> |
How to add lightbox to a page, I am currently using version 2.0:
add the following code to the <head> section of the page for the scripts needed to produce the effects:
<link rel="stylesheet" href="css/lightbox.css" type="text/css" media="screen" /> <script src="js/jquery-1.10.2.min.js"></script> <script src="js/lightbox-2.6.min.js"></script> |
Also make sure that the referenced prevlabel.gif and nextlabel.gif are in the right place on your website as referenced by lightbox.css. Another one is closelabel.gif, but if lightbox has already been installed you do not need to worry about this step.
Here are two simple ways to implement lightbox for your images as given by Lokesh Dhakar, the creator of Lightbox.
<a href="images/image-1.jpg" rel="lightbox" title="my caption">image #1</a> <a href="images/image-1.jpg" rel="lightbox[roadtrip]">image #1</a> <a href="images/image-2.jpg" rel="lightbox[roadtrip]">image #2</a> <a href="images/image-3.jpg" rel="lightbox[roadtrip]">image #3</a> |
You would replace the images/image-1.jpg and so on with your image link. The rel in the first one is just to establish lightbox as the link tool and the rel in the second one establishes a lightbox group called roadtrip. The grouping can be done for multiple groups on one page.
How to implement images alone without using a link or lightbox feature:
<img src="(LINK to image)">
replace (LINK to image) with an image from the images directory, ex. "images/fishposter.jpg" or if you are in a further directory you can use .. to go back. ex. "../images/fishposter.jpg". Using the .. is only needed in certain situations and in any case you should double check to make sure you know where your image is on your hard drive and the web host itself.

The code used for this image is: <img src="images/fish-tales-poster-small.jpg" border="1" alt="fish tales poster" width="297" height="325" />
Inputting the height is important and it is always good to defne a title, or alt="" on your pictures.
Here is the same image with a link attached to it:
Here is the code used for the above image which links to google:
<a href="http://google.com" target="_blank"><img src="images/fish-tales-poster-small.jpg" border="1" alt="fish tales poster" width="297" height="325" /></a>
attributes are alt="(mouseover text)", width="(width in px)", height="(height in px)", border="(border thickness in px)"
How to make links:
<a href="(LINK)">Text for Link or Image for Link</a>
attributes are target="(_blank (opens in new page), _self (opens in the already open page), _parent, or _top)" You can only choose one of the attributes for target
When ALL content is put on page in a HTML editor, the </body> tag is always at the end. Nothing outside of the body tags should be visible on a page. This is why if you code the HTML, it is important to check that all the viewable page content is inside the body tags <body> and </body>
</body>
</html>
End the HTML page with the </html> tag
Overview:
- Open and close the tags like a sandwich, it's important to get this right and test the file in the browser often
- Divs usually have styles applied to them by CSS files, but they also have great potential for small items in tables or other divs
- Images and links are easy! Just make sure you don't type the links incorrectly and you won't have any problems
- Lightbox is a simple image presentation tool and by downloading the latest version of lightbox you can apply this to any website
- Save your document soon and often to avoid losing work!! Also make sure to create backups to provide extra saftey
- Keep at it and go out and read more about Web Design or read more articles at 3Dmitchell.com